
Best Camera Position For Zoom Yoga
The most effective way to progress your practice online, is with live, individual, tailored feedback on your alignment.
Offering this is central to the way I teach, and Zoom is an excellent vehicle for it.
Feedback is only as detailed as my ability to see you as you practice though, therefore an optimal camera position will give you more personalised feedback and encouragement.
THE 'IDEAL' SET UP
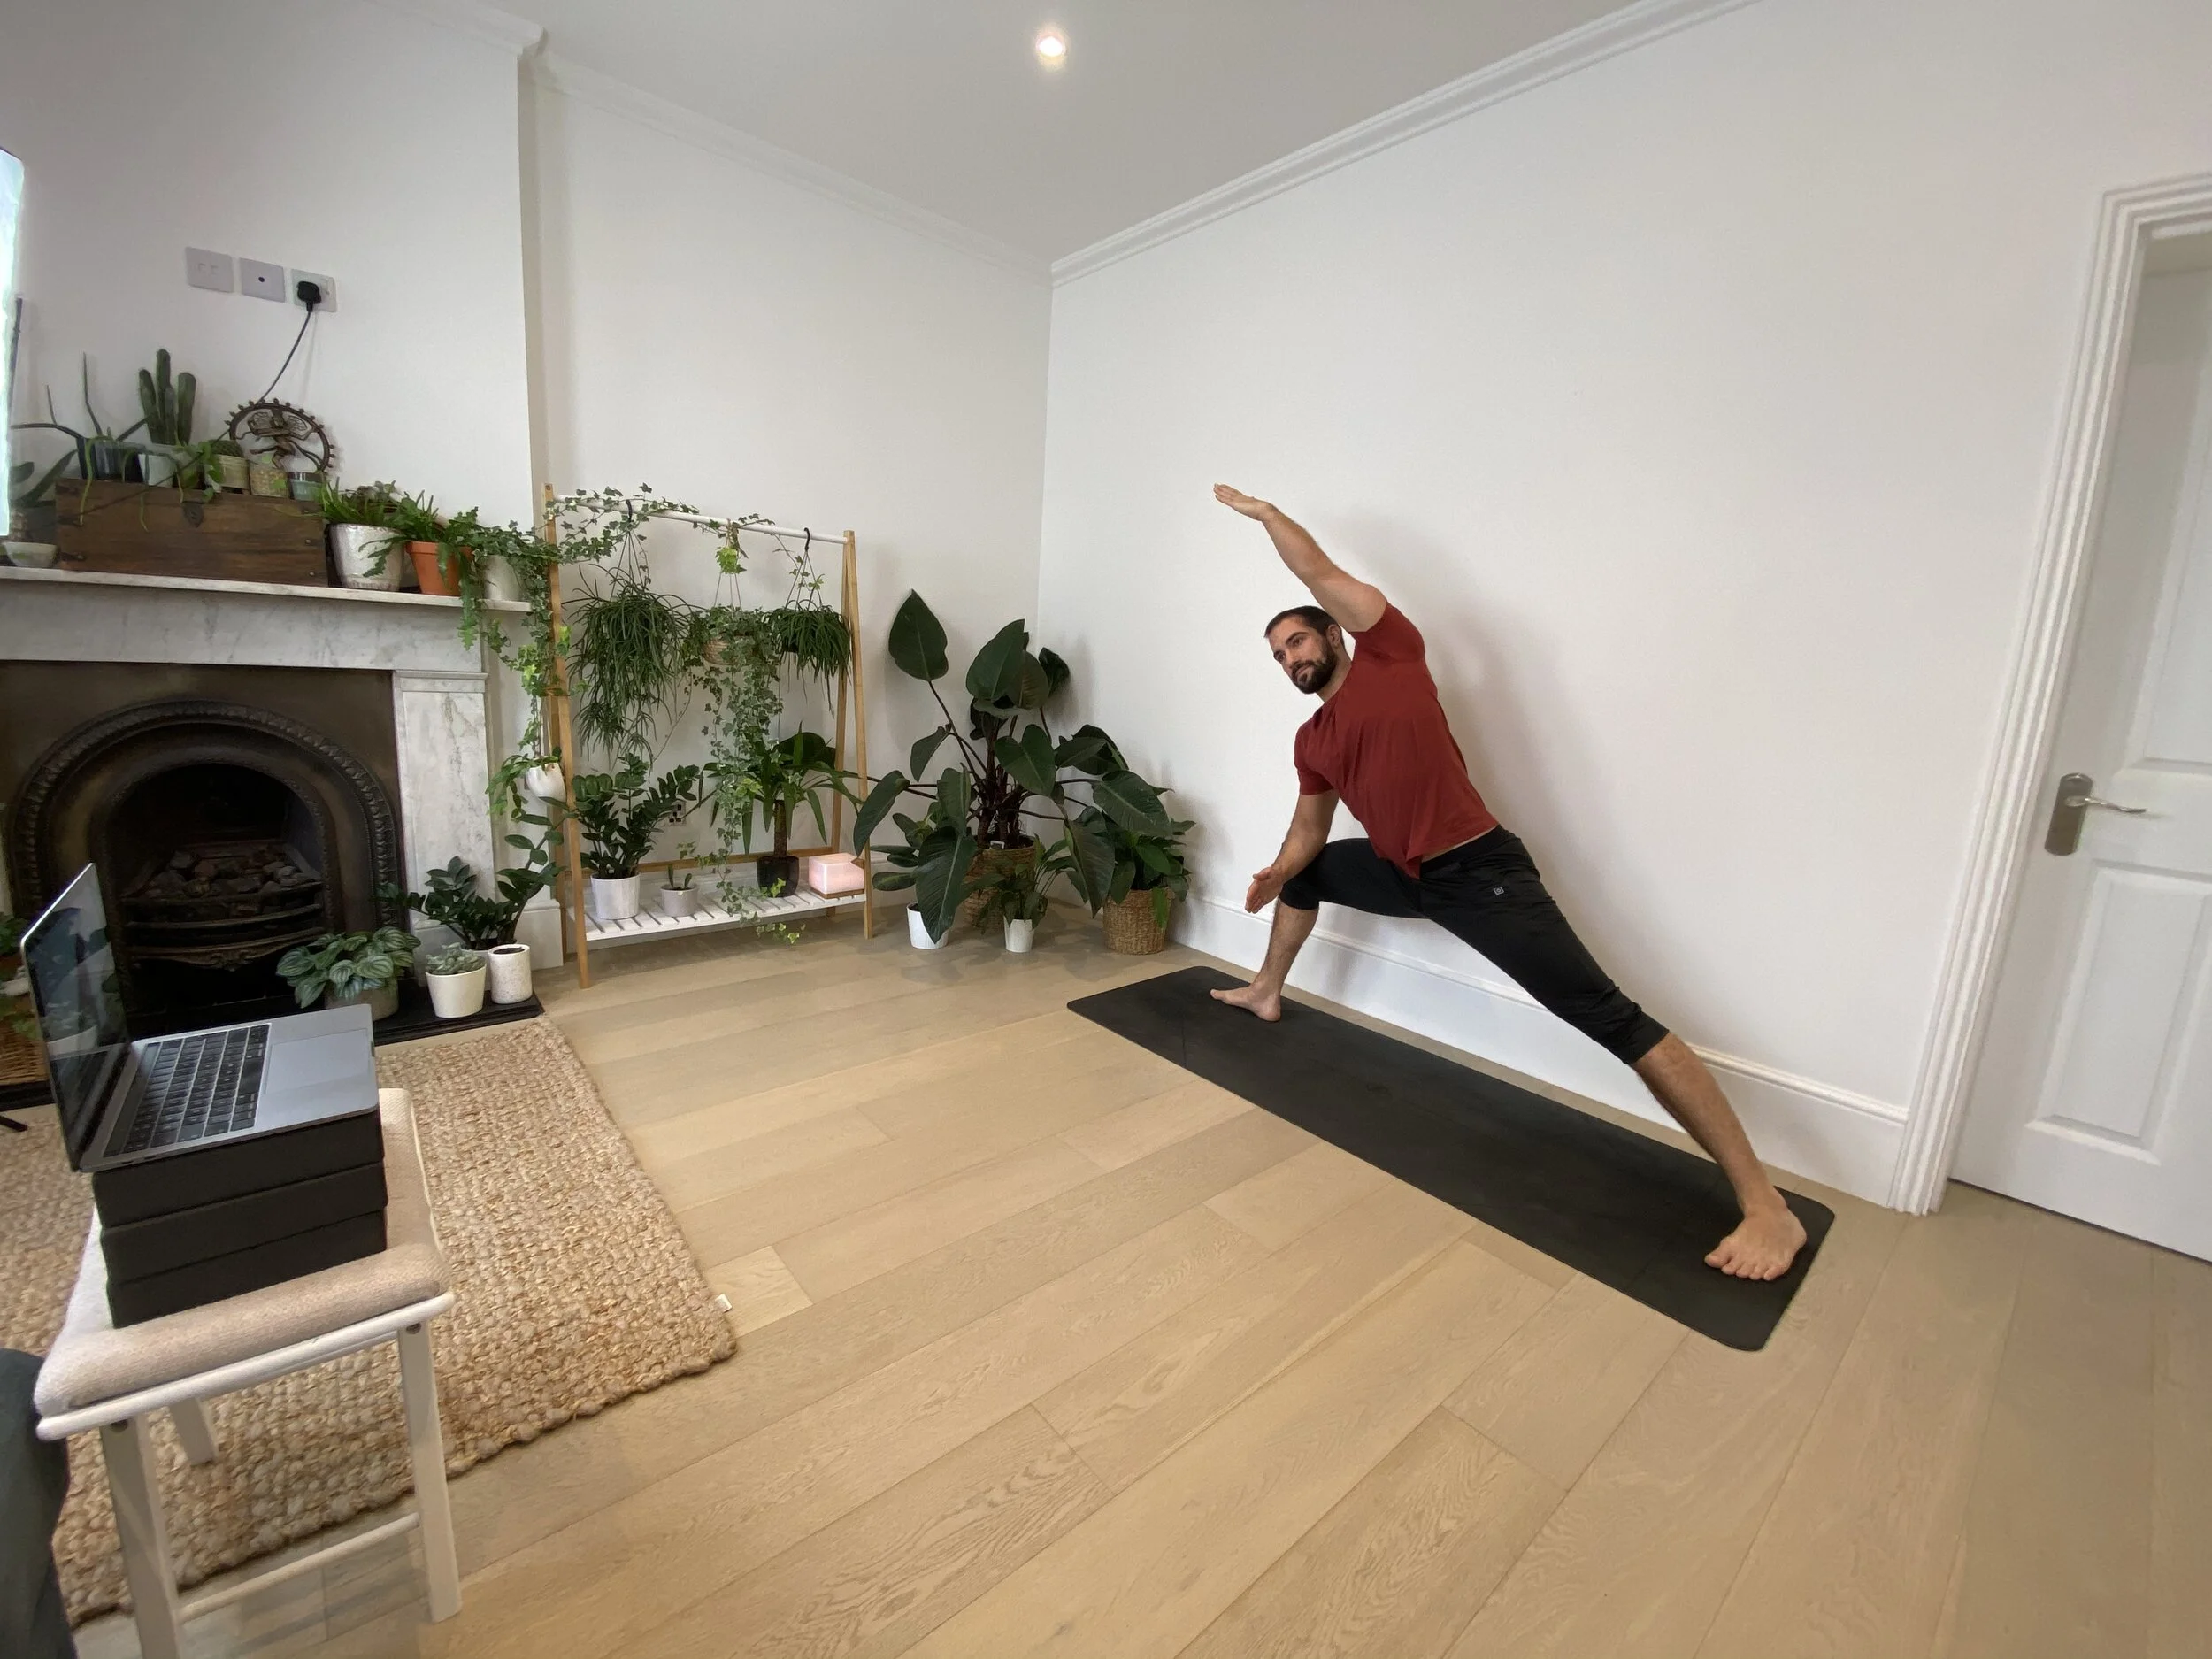
1. Device positioned facing the top left corner of your mat
- Most vinyasa starts on the right leg and includes warrior 2, this means you will be facing the screen to see the teacher demonstrating on the first side of the sequence.
- It also gives me view of both the side and the front as you practice.
2. Device about thigh height
- This ensures your pelvis and shoulders can be seen, where most of alignment cues are focused
3. At a distance away from the mat where you can see the whole mat (and your whole body!) in shot.

SECOND BEST SET UP
1. Device positioned facing the mat horizontally, on your left
- Still ensures you can see the screen from your first warrior 2
2. Device at hip height
3. Far enough back that the whole mat fits on screen
FOR VERY SMALL SPACES
1. Device at top left corner of mat
2. Floor height and angled UP
- This gives the best chance to see your whole body, even if the camera is close, and you can still see the screen yourself
3. As far back as you can, get as much mat in shot as possible.

Of course, we have to do the best we can with the space we have (I lived and practiced in a 3x2 metre micro studio for 6 years - I feel you!).
See which of the above is realistic to implement, and test it out in class with me! Above all please DON’T WORRY if you can’t do any of the above, you will still get a lot from your practice.
In love and strength,
James